
 72709
72709
NZBGet Setup Guide for Easynews
NZBGet is a lightweight, efficient newsreader designed to work well on a variety of systems. This guide walks through the process of configuring NZBGet to access Easynews via SSL-secured Usenet connections.
Step 1: Install NZBGet
If you haven’t already, download the latest version of NZBGet for your operating system. Follow the on-screen instructions to complete the installation.
Once installed, open NZBGet. You can do this through the shortcut or by entering http://localhost:6789 into your Web browser.
Step 2: Access NZBGet Settings
-
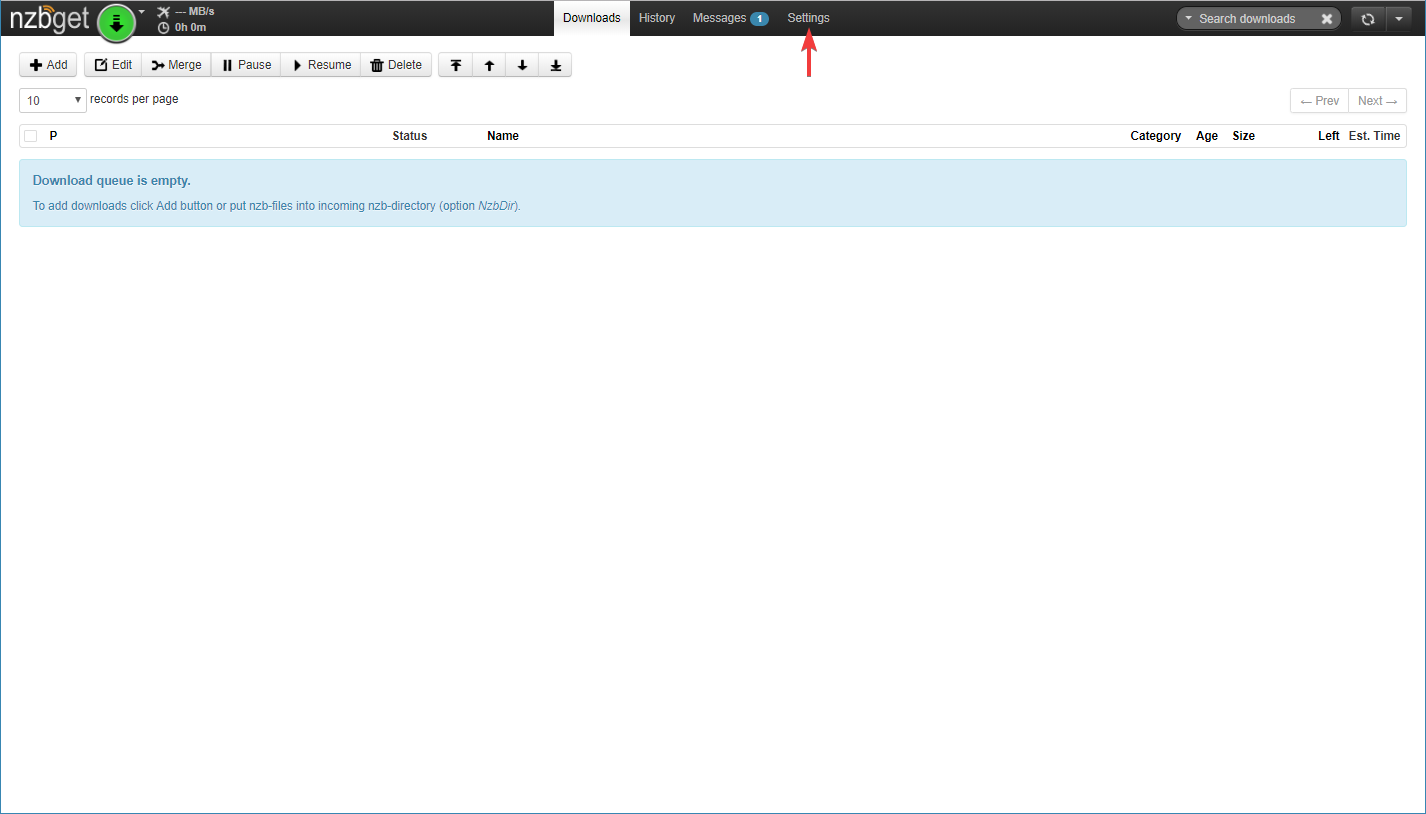
From the NZBGet main dashboard, click Settings in the top menu.
-
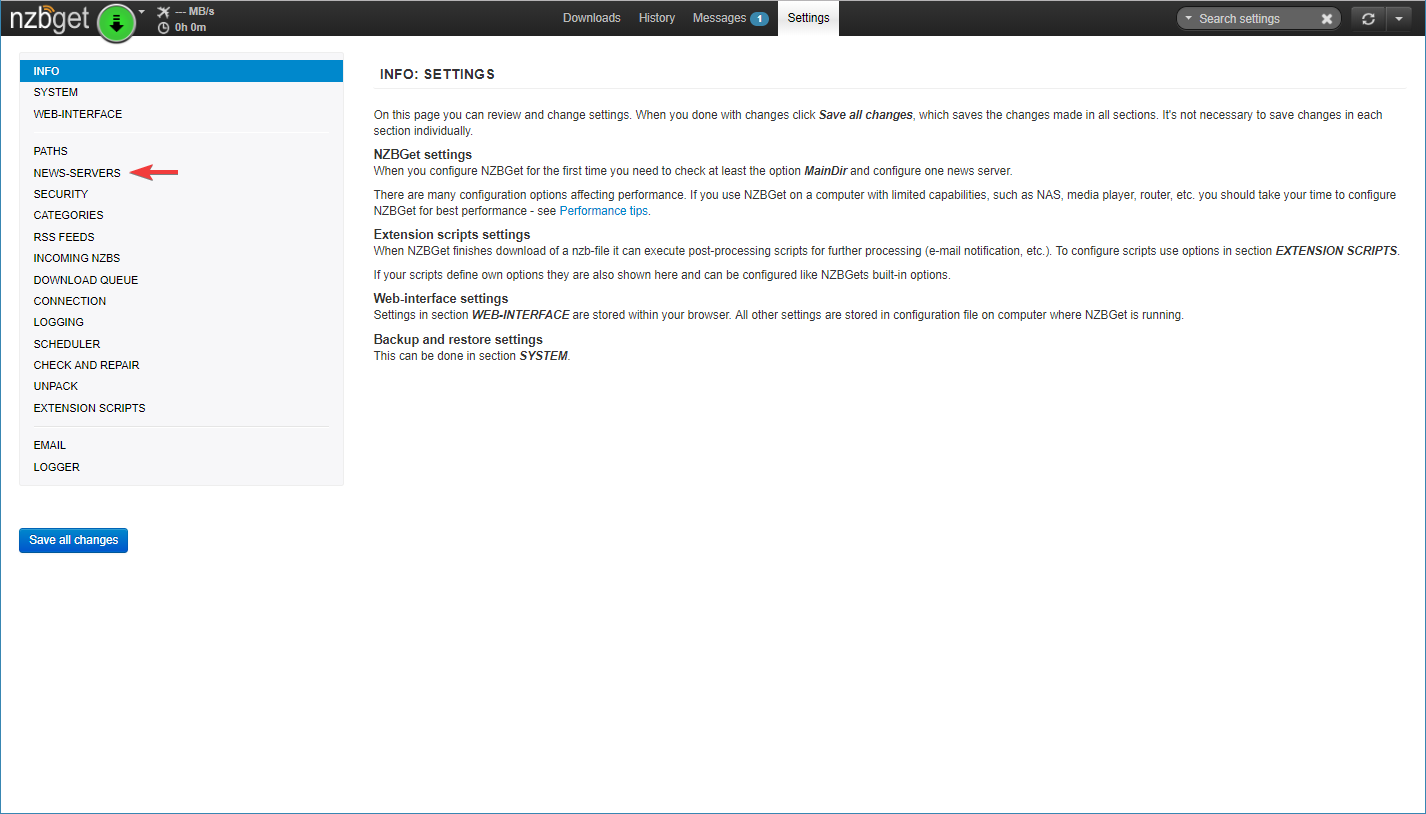
On the left sidebar, select News-Servers.
-
Add a new news server.
Step 3: Add the Easynews Server
Click Add another server and configure it with the following settings:
-
Name: Easynews
-
Host: news.easynews.com
-
Port: 563
-
Username: Your Easynews username
-
Password: Your Easynews password
-
Encryption: Yes (SSL)
-
Connections: 60 (or fewer, depending on your plan)
-
Retention: Leave default or adjust as preferred (Easynews supports long-term article retention)
-
Group: Leave blank or assign if you use server groups
Click Save all changes at the bottom of the page.

Step 4: Test the Connection
To confirm your settings:
-
Scroll down to the bottom of the page.
-
Under the "Easynews" server, click Test Connection.
If everything is set correctly, NZBGet will confirm that the connection is working.

Step 5: Start Accessing Usenet Articles
Once NZBGet is set up, you can begin using it with NZBs from your Indexer. NZBGet will connect to Easynews using SSL encryption, access articles with your configured settings, and process them automatically based on your preferences.

